

What is Sourdough?
My sourdough journey began in late 2017. I had attempted sourdough a handful of times before, but never anything serious. I was exploring food sensitivity testing to figure out why I suffered from gut dysbiosis. I was fortunate enough to find an affordable IgG test which helped me figure out the cause of my migraines and skin rashes. Amongst some of my food sensitivities I was surprised to learn that I had a moderate sensitivity to commercial bakers yeast. Once I cut back on leavened breads, I noticed some of my symptoms lessened. Still, I loved to bake for my family, and I missed bread. A trip to CA with my sisters in the spring of 2018 reminded me just how much I love sourdough bread and that it would be a perfect solution. I purchased a culture of San Francisco style sourdough starter ( fructilactobacillus sanfranciscensis) and my learning journey began.
My first few loaves were absolute rubbish. I had no idea what I was doing. Most of the most famous blog posts you can do an internet search for didn’t exist yet. Most of what I learned for the first couple years was trial by error. Thankfully, I persevered and honed my skills and increased my knowledge. Once the pandemic swept the world, everyone became interested in sourdough, a wealth of information flooded the internet, and my confidence increased. I’m no professional with my scoring techniques or artwork, but I can confidently produce a top-notch loaf of artisan sourdough in San Francisco style or French Country style which leaves people happy and wanting for more. That’s good enough for me, and I’m happy to share my knowledge (and developed mixed strain) with anyone who is interested.
I want to share with you how much fun maintaining your own sourdough culture is. You’ll find that it becomes a less of a chore and more of a pet or a family member– one that nurtures your family and teaches you how amazing you are without even expecting it. That doesn’t sound so bad, does it? A sourdough starter is basically a culture, or small collection of microorganisms that have found a comfortable place to live in your flour and water slurry, or levain as you’ll often see it referred to in recipes. These microbes exist everywhere, inside and on our bodies, in the soil in which we grow our food, and even in the air. The benefit of maintaining a sourdough starter of your own is that you essentially keep an endless supply of yeast and lactic acid to leaven your breads and provide a tangy, fermented flavor to your foods.
Health Benefits of Sourdough
As an added bonus, these commensal (friendly) bacteria are actually beneficial to your gut health. These fermented little friends can actually increase beneficial bacteria in the gut microbiome by providing prebiotic and probiotic benefits. Sourdough bread is better for gluten sensitivity and can lead to better digestion as well. It is easier to digest than commercial yeast products, because it takes less yeast to leaven a loaf of sourdough than it does for commercial yeasted breads. Therefore, it is less likely to throw off the balance of your gut microbiome. Lastly, sourdough has a lower glycemic index than normal bread, because the fermentation process has already helped to digest and break down much of the carbohydrates– it is doing the work in advance so that your gut doesn’t have to work as hard to digest it for you.
So, let’s look at this magic in action. Instead of the step by step instructions, I’ll share a travelogue for you to see how it looks.
Day 1- The Beginning
Day 1- Starting your culture. This is more or less the same, whether you start with nothing but flour and water, or if you’ve got a dried sourdough culture from somewhere else. Day one is all about gathering your components and setting up shop.

I used a clean, clear-sided jar, digital food scale, 50g flour, 50g water, small silicone spatula, and a rubber band to fit snugly around jar (you’ll see why later on). I’m using American All-Purpose flour to prove that you really can do this with any type of flour. That said, I’ve opted for King Arthur brand, which has a better flavor than some of the mass-produced, generic stuff. This is a quart-sized Weck tulip jar with the rubber seal removed. You can use anything you want, just make sure that it is not tightly sealed.
You’re creating a microbiome that is going to need to breathe in order to thrive. It’s a home for aerobic bacteria. If they can’t breathe, they won’t be able to do what you need them to. (In my head I hear Anjelica Huston’s character in the movie Ever After saying, “If one cannot breathe, one cannot eat.” Different context, but true nevertheless.)

With very clean hands, give a final wipe down to your clean, dry container. (No towel lint allowed in your jar.) Now, go ahead and toss the flour and water into your jar. Mix until smooth, scraping sides to prevent crust. You want to be able to see to watch your little pal. That’s all for Day 1. Simple, right?
After 3 hours. You can see that there are already some happy bubbles beginning their work. Now we wait. Tomorrow the fun begins.
Day 2- The First Feeding


Day 2: We have very active cultures already, so it is a great time to do go ahead with our first feeding. I intentionally started with such a small amount yesterday so that I wouldn’t have to “discard” or take anything out today. This is all about keeping things as simple possible and giving your little colony the chance to get strong and happy. So, I’m just feeding them now. Add 50 grams of water and 50 grams of flour. Mix it all up, clean the sides, and you’re good to go. Grab a rubber band and put it around the outside of the jar at the level of your starter. You’ll probably be able to start seeing movement soon.

Day 3- Maintaining by Refeeding
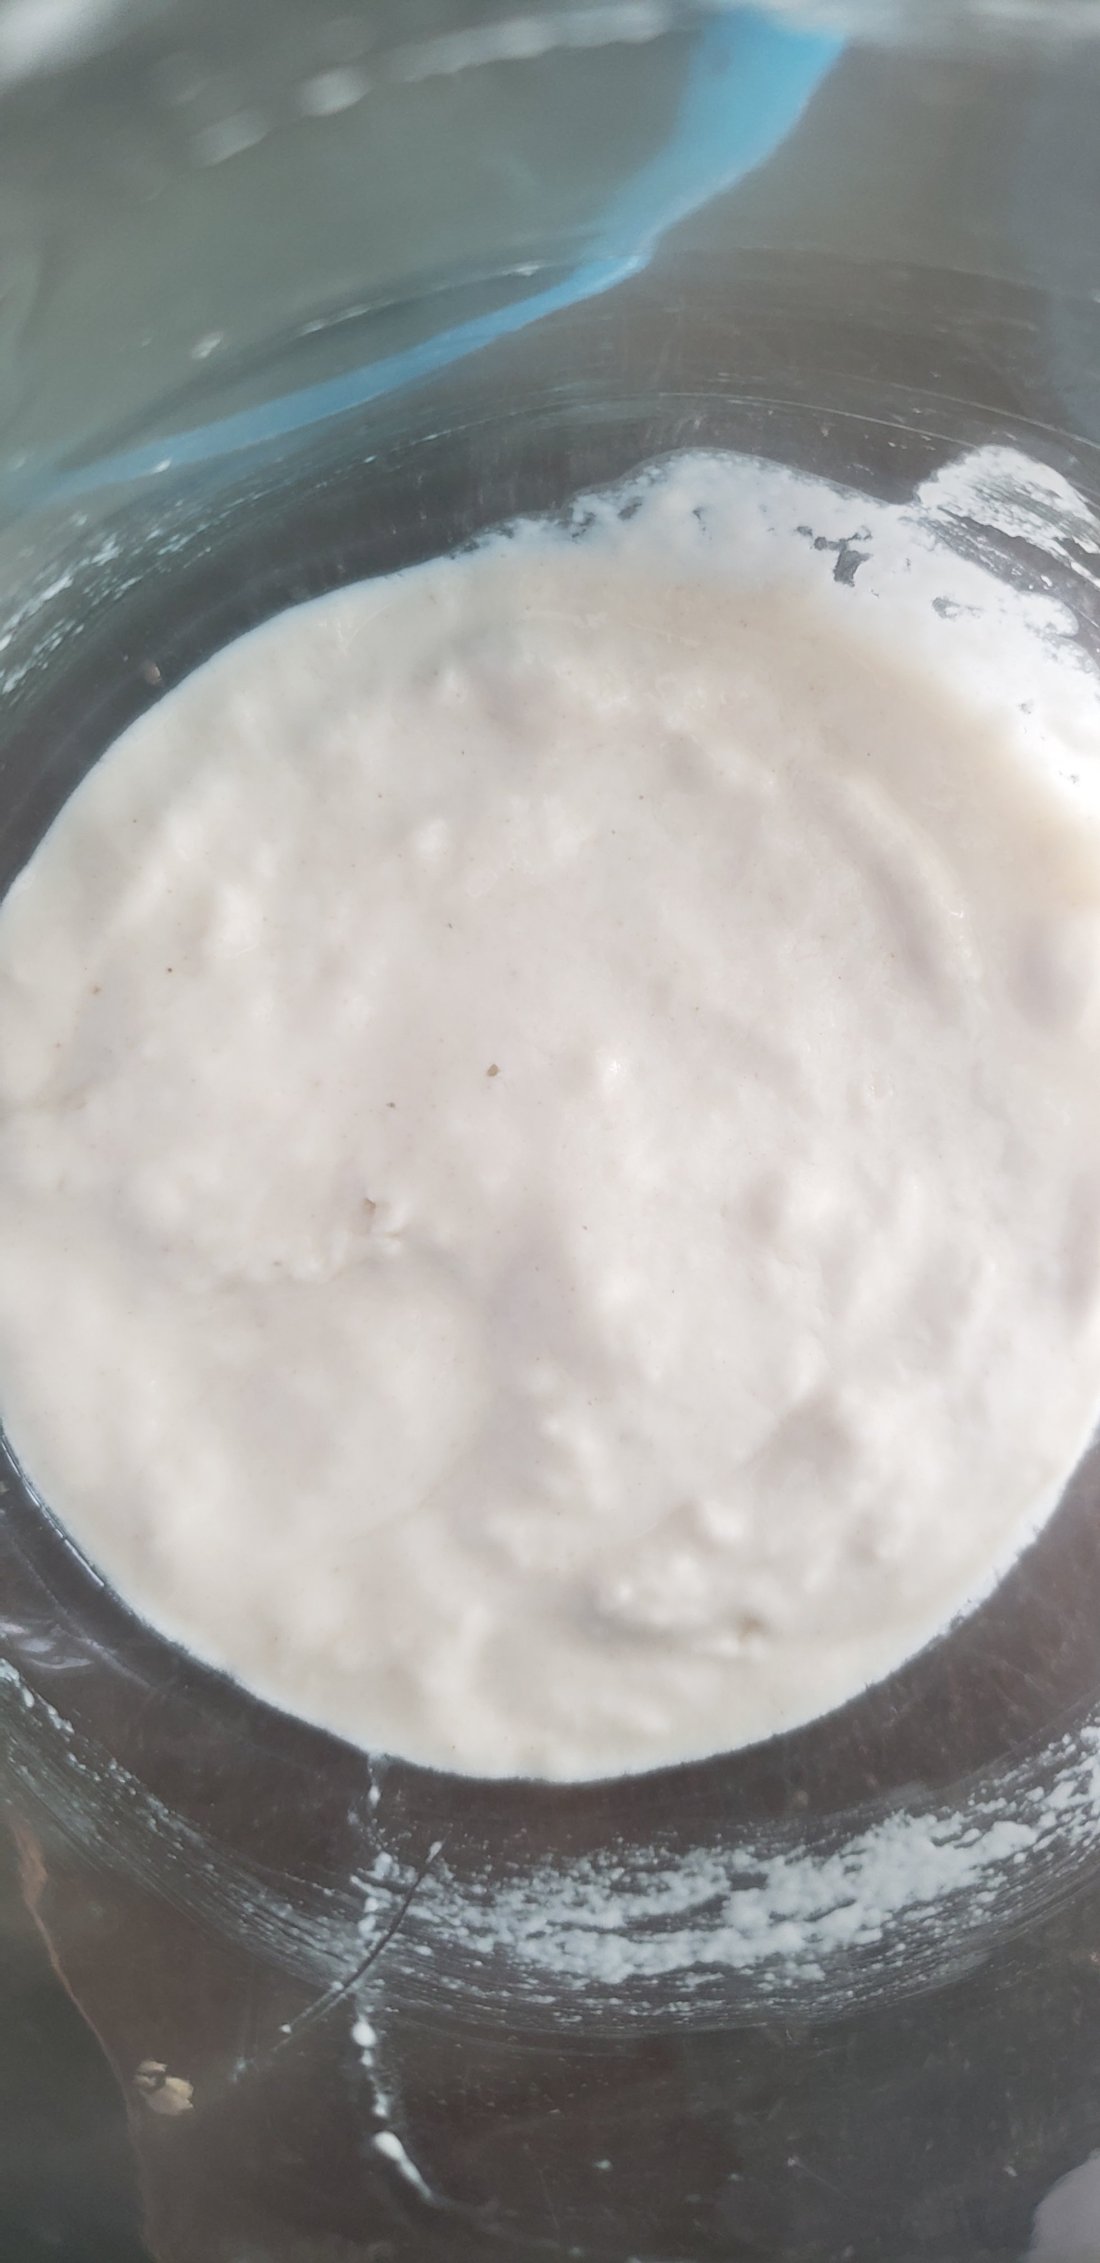
Day 3, I had a rubber band on it yesterday to gauge how much growth it had overnight. You’ll see from the residual on the jar just how high it rose overnight. This morning, since it was so active, I decided to feed it extra. Instead of the 50g water and 50g flour, I gave it 100g of each. It’s progressing faster than anticipated.


Discarding
The smell is mild, sweet, and tangy. It is behaving like a fully fledged sourdough starter. I’ve decided that it’s strong enough to start using tomorrow. If yours isn’t looking like this yet, have faith. Repeat Days 2 and 3 by discarding half of your starter and re-feeding it.
How to do it: You’ve probably got an approximate total of 400 grams of starter like I do right now. Remove 200 grams of the sourdough starter. Yes, take half out and discard it. I’ve just poured mine down the sink when I’ve had to do this. Now add 100g of water and 100g of flour.
I promise I won’t ask you to do that ever again if you don’t have to. Have faith, you’ll be up and running soon!
Come Back Tomorrow for Day 4- Using the Starter
If you need any refreshers in this sourdough journey, be sure to revisit any of these posts below.
Sourdough for Beginners, Part Two ~This has the world’s best sourdough crepe recipe!
Sourdough for Beginners, Part Three ~ This post has a ridiculously simple no-work peasant bread recipe
Sourdough for Beginners, Part Four ~ This features a divine pie dough, perfect for all your pastry needs.
Sourdough for Beginners, Part Five- the Final ~ This is part five, the final segment in our Sourdough for Beginners journey. It’s been fun. Be sure to check out the recipe index for additional sourdough recipes in the future.


You must be logged in to post a comment.